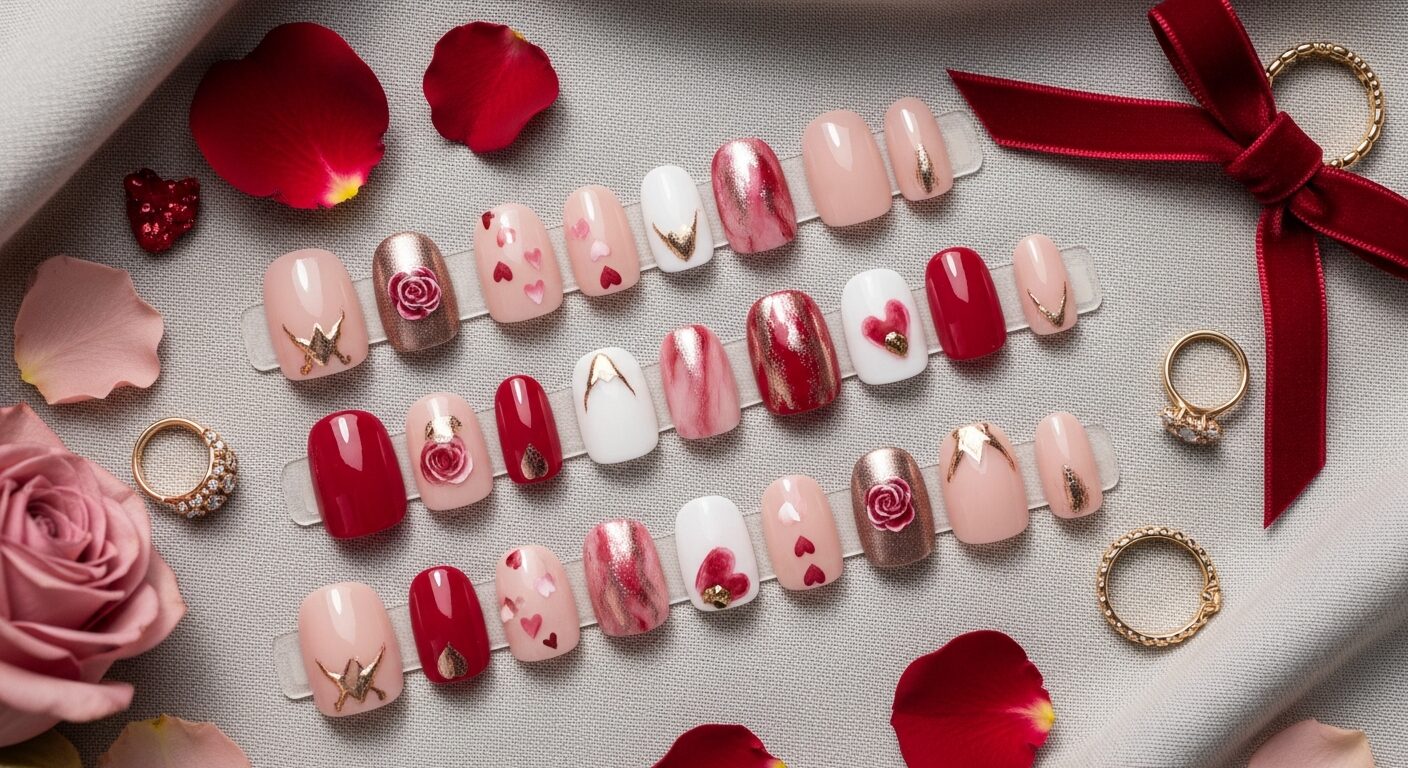
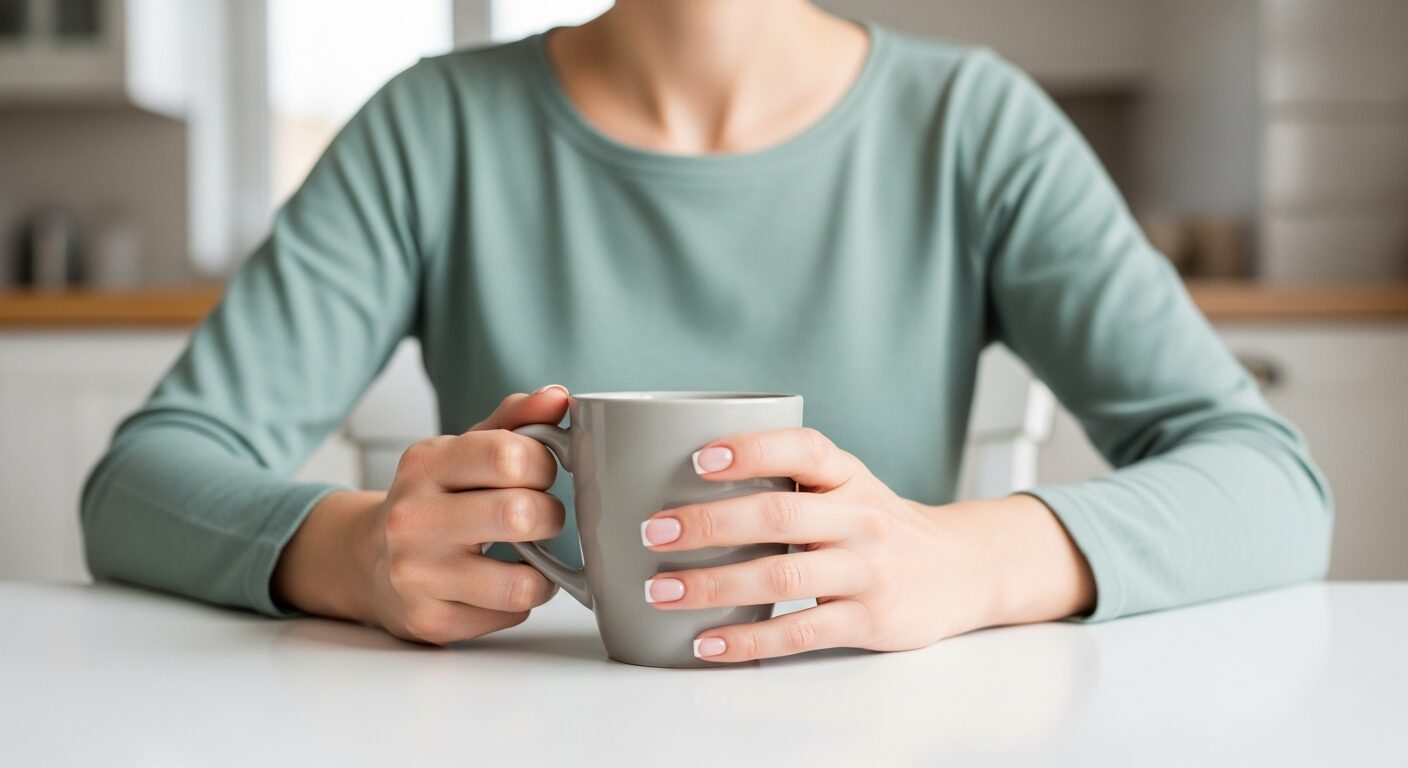
How to Remove Nail Art Without Damaging Nails, If there’s one beauty habit that quietly sabotages healthy nails, it’s improper nail art removal

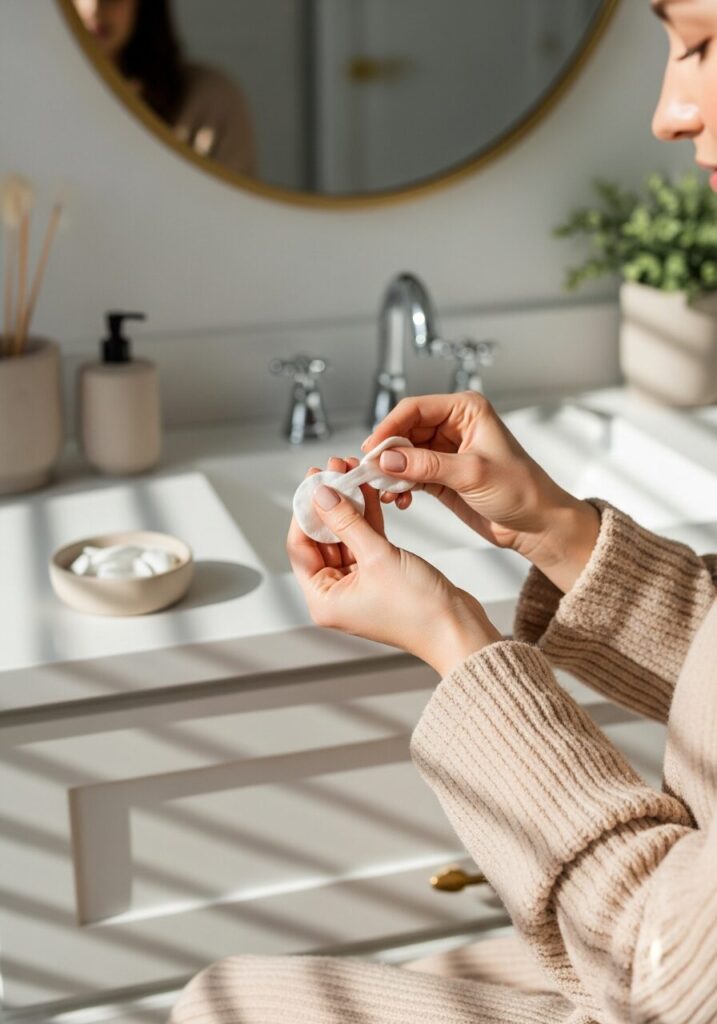
How to Remove Nail Art Without Damaging Nails– If there’s one beauty habit that quietly sabotages healthy nails, it’s improper nail art removal. I’ve seen it again and again—beautiful manicures undone not by polish, but by rushed soaking, aggressive scraping, or skipping aftercare entirely.
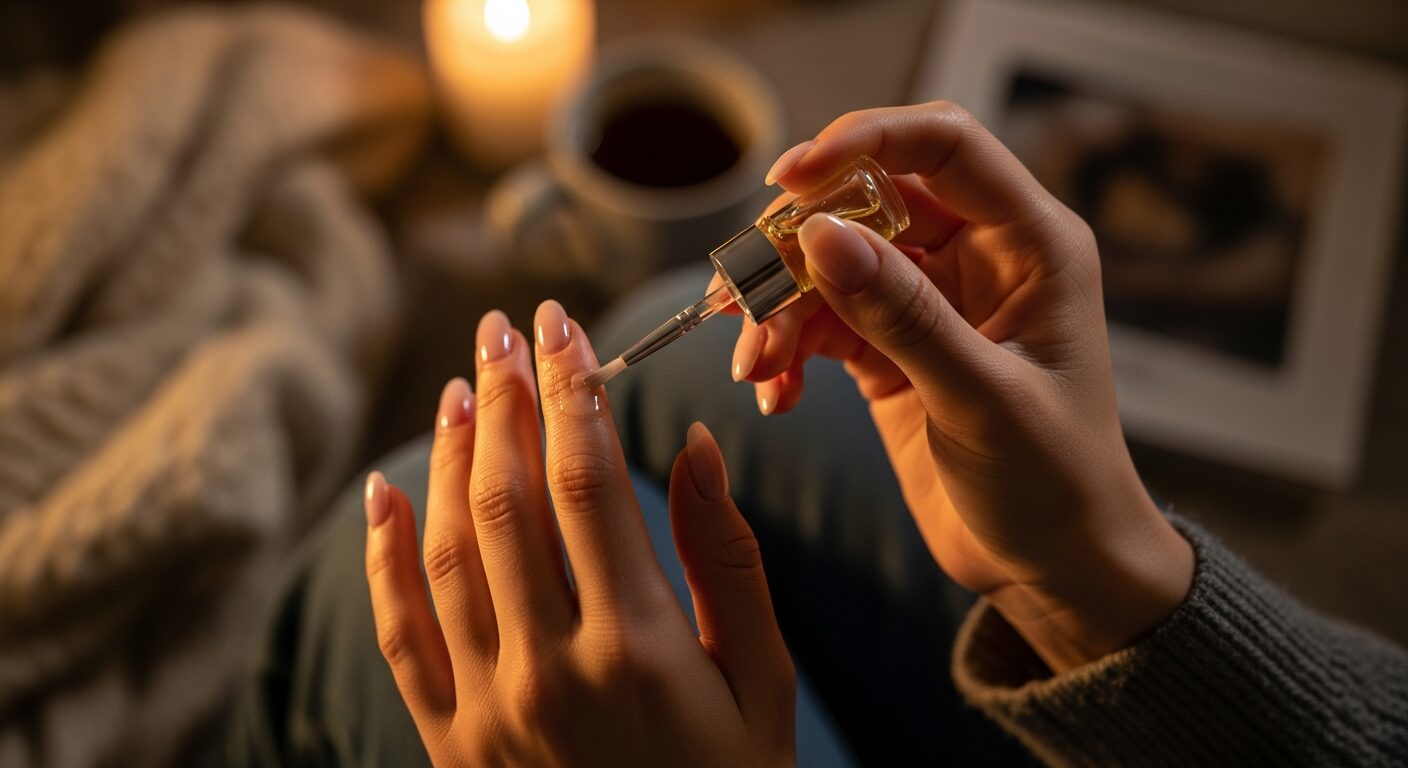
As a beauty consultant who juggles real life (deadlines, family schedules, and yes—busy mornings), I’ve learned this the hard way: how you remove nail art matters just as much as how you apply it.

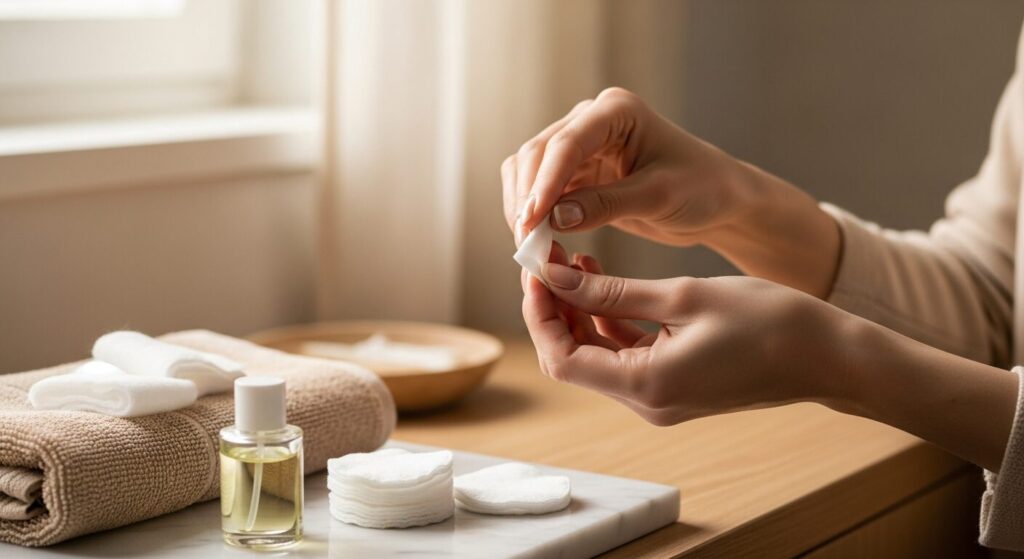
Remove Nail Art Safely
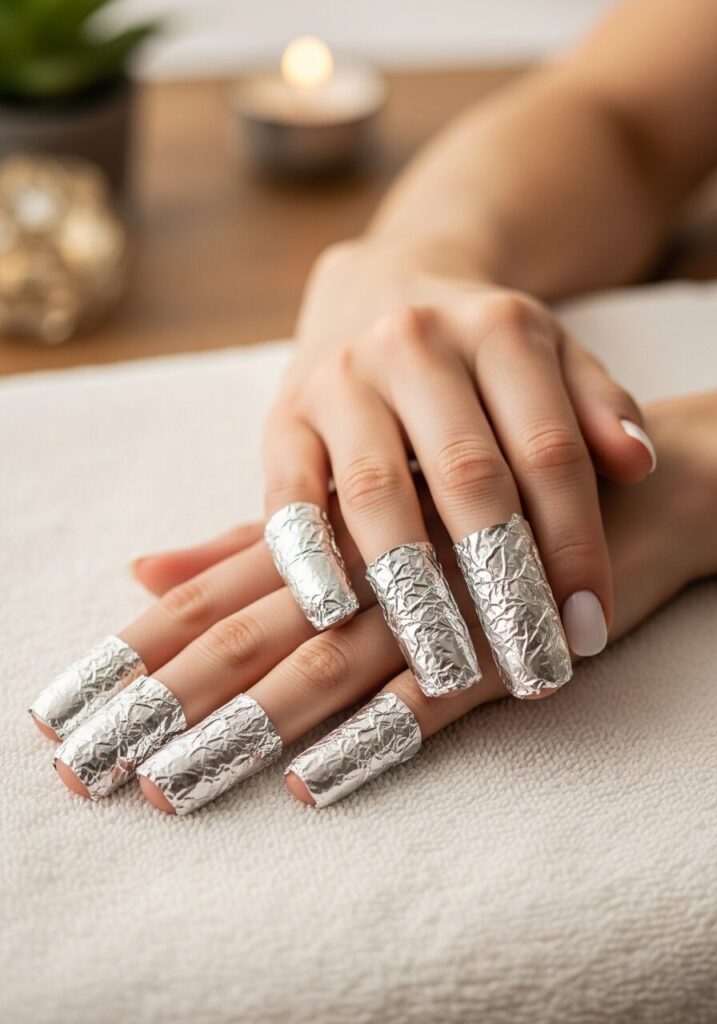
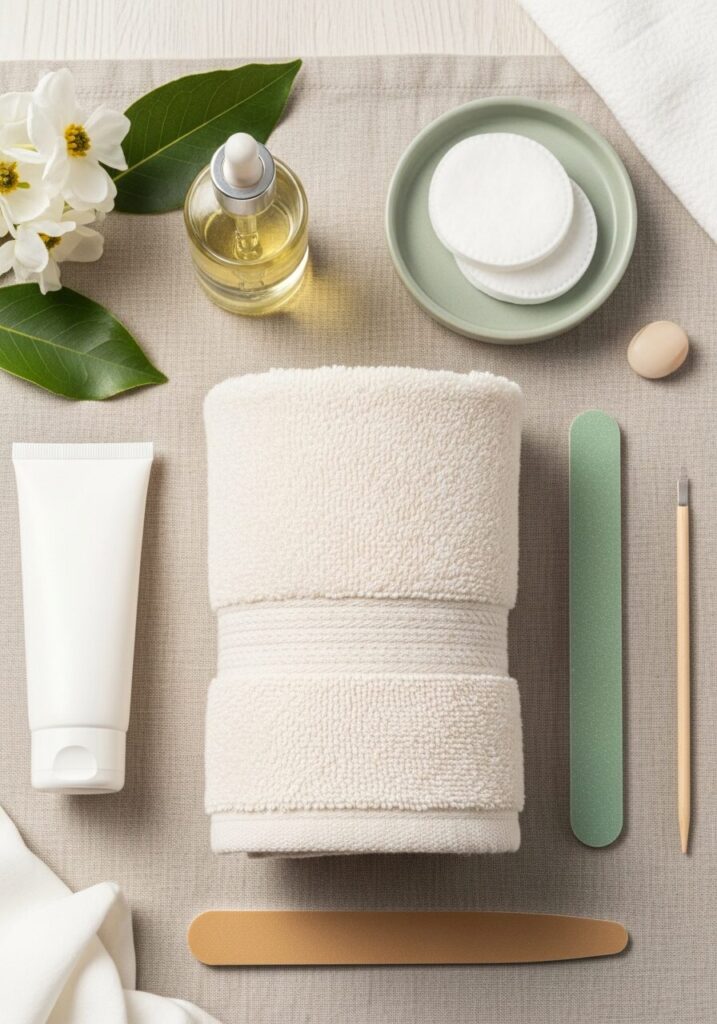
This article is designed to help you remove nail art safely, without thinning your nails, weakening your cuticles, or triggering long-term damage. Whether you’re a beginner, a busy mom, or someone who simply wants healthier nails year-round, this is a practical, expert-backed roadmap you can return to again and again.
Before we get into techniques, let’s ground ourselves in nail biology—because once you understand why nails get damaged, safe removal becomes intuitive.
Your nail plate is made of compressed keratin layers. When nail art is peeled or scraped off, those layers lift with it—leading to:
Peeling edges
Soft, bendy nails
White patches (keratin trauma)
This is the part few people talk about. Damage often comes from:
Over-soaking in acetone
Metal tools used incorrectly
Skipping hydration afterward
A safe nail care routine isn’t just about removal—it’s about recovery.
Early in my career, I treated removal as a nuisance—something to get through quickly. I peeled gel polish between appointments, soaked acrylics too long, and ignored cuticle oil entirely.
Within months, my nails told the truth: thin, ridged, and constantly breaking.
It took guidance from professional nail technicians and dermatology-informed care routines to rebuild my nails. Today, my nails are stronger with nail art than they ever were without it—because I finally learned to remove nail art safely.
Different nail products bond differently. Using the wrong removal method causes unnecessary damage.
Surface-level | Low | |
Gel polish | UV-cured | Medium |
Builder gel | Structural | High |
Acrylic nails | Chemical bond | Very high |
Rule of thumb: The stronger the bond, the gentler and slower the removal must be.
Use an acetone-free remover for frequent use
Press soaked cotton pad for 10 seconds
Wipe downward—never side to side
Repeat only if needed
Acetone-free formulas are ideal for weekly wearers and busy moms. They’re slower—but far kinder to nails over time.

Peeling gel removes keratin layers along with the polish. It’s the fastest way to weaken nails.
Lightly buff the top coat only
Soak cotton with pure acetone
Wrap nails with foil for 12–15 minutes
Gently push softened gel with a wooden stick
Re-wrap stubborn areas—never force
I remove gel at night, not between tasks. Rushing leads to scraping—and damage always follows.

Remove Gel Nail Art Without Peeling
These systems are structural. Improper removal can cause months of damage.
If you’re inexperienced, professional removal is safer.
If removing at home:
Expect longer soak times
Never pry enhancements off
Plan a recovery week afterward
Burning sensation
Nail plate bending
Redness around cuticles
Immediately after removal:
Rinse hands (remove acetone residue)
Apply cuticle oil generously
That evening:
Thick hand cream
Light nail massage
Next 7 days:
Daily oil (morning + night)
Avoid hardeners for 48 hours
This is where nail health is rebuilt.

Post-Removal Nail Care
Method | Nail Safety | Best For |
|---|---|---|
Acetone soak + foil | High | Gel polish |
Acetone-free wipe | Very high | |
Electric file (home) | Low | Advanced users only |
Peeling/scraping | Very low | Never recommended |
Peeling gel “just this once”
Over-buffing the nail plate
Skipping hydration
Using metal tools aggressively
Removing nails when rushed or stressed
If removal feels stressful, stop. Nails sense impatience.
Nails absorb acetone—hydration timing matters
Night-time removal reduces accidental damage
Warm hands speed up soaking safely
Thin nails need shorter soak cycles, not longer
These details make the difference between recovery and regret.
I recommend a Sunday Reset Routine:
Remove nail art after kids sleep
Oil + gloves overnight
Bare nails Monday–Wednesday
Reapply nail art Thursday
This balances beauty and nail health realistically.
Signs you need a break:
Visible peeling
Pain when pressing nails
Persistent white spots
Rest is not failure—it’s maintenance.
Beautiful nails aren’t ruined by polish—they’re ruined by impatience.
When you remove nail art safely, you protect not just today’s manicure, but the future strength of your nails. With the right method, timing, and nail care routine, nail art becomes sustainable—not damaging.
If there’s one takeaway from my years in beauty, it’s this:
Gentle removal is the most underrated nail luxury.
Your nails will thank you for years to come.
Dont forget to follow me on Pinterest